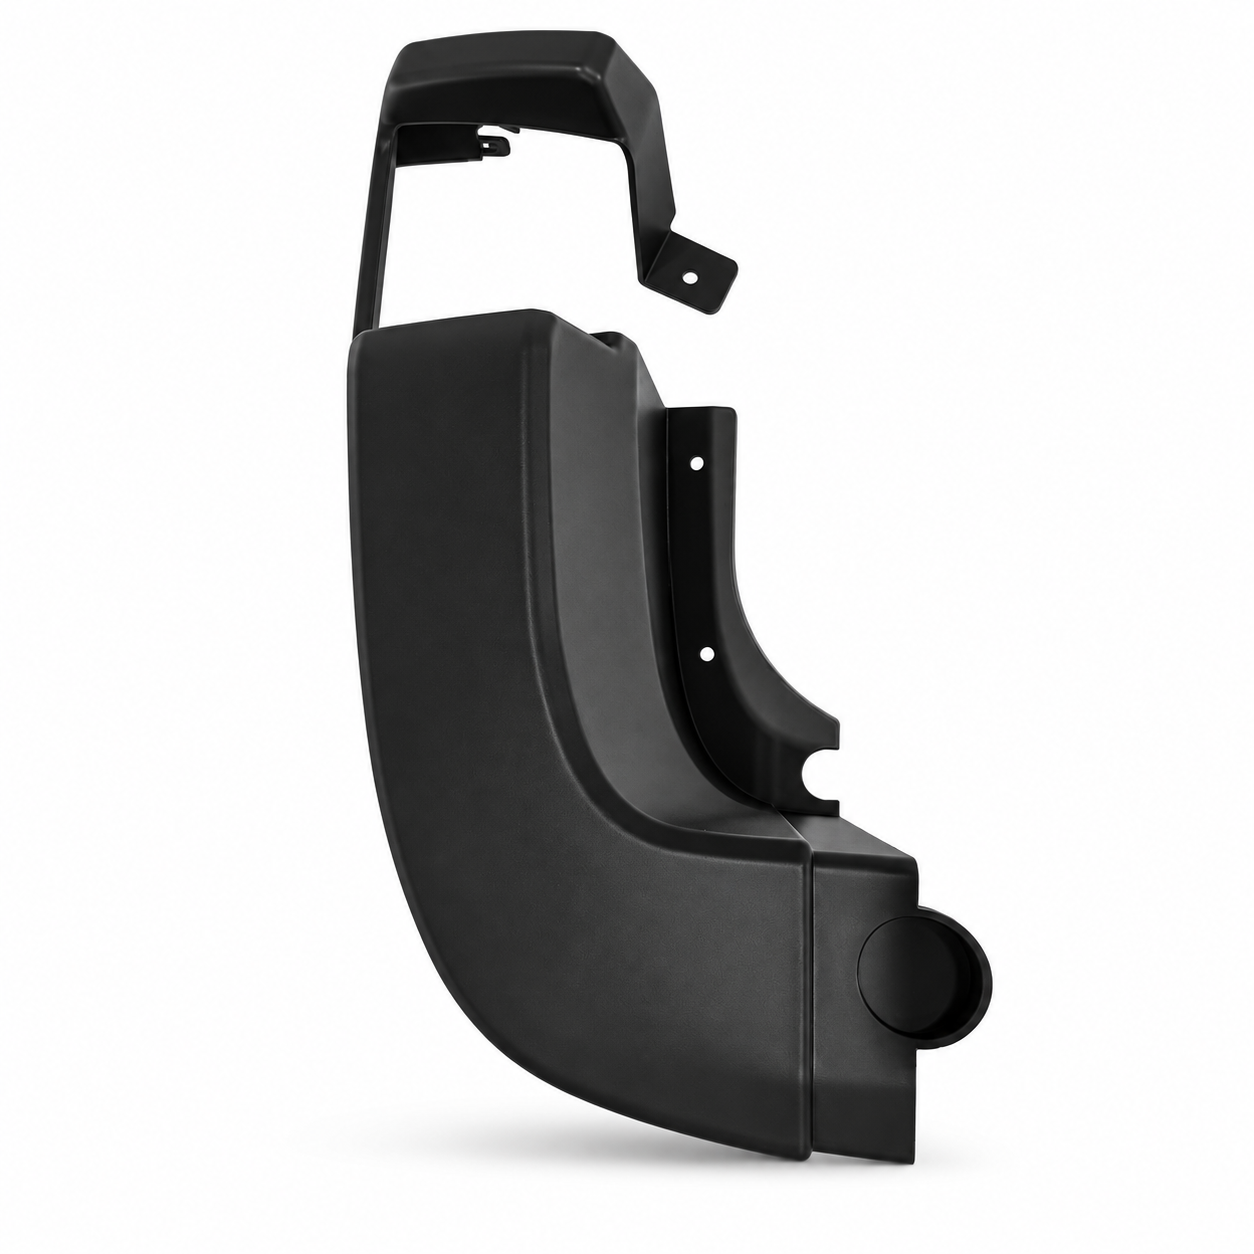
Ford Transit 250 Endcap
Options
Quality Guaranteed
Industrial grade manufacturing standards.
Fast Shipping
Reliable delivery to your fleet.
Compatibility
Ford Transit 250
Mounting
Factory mounting locations — no drilling or cutting
What's Included
One replacement end cap
Fitment
Matches Ford Transit 250 factory contour
Need both sides?
Get the complete Both Sides set for a full replacement.
Why It's Needed
Restore and protect the Ford Transit 250's factory end cap.
Restore Damaged End Caps
Factory end caps on the Ford Transit 250 can crack, split, or break away after repeated curb impacts and road contact. This direct-fit replacement restores the original appearance and protection.
Direct-Fit Replacement
Avoid the cost and hassle of sourcing a full assembly. This end cap installs at the factory mounting location with no drilling or permanent vehicle modification.
Direct-Fit Replacement End Cap
The Ford Transit 250 Endcap is a direct-fit replacement for the factory end cap. It installs using the existing factory mounting locations, so there is no drilling, cutting, or permanent vehicle modification required.
Built to Match Factory Fitment
Each end cap is formed to match the Ford Transit 250 factory contour, seating cleanly against the body for a finished, OEM-style appearance.
Ideal Use Cases
- Fleet refurbishment and reconditioning.
- Replacing lost, cracked, or broken factory end caps.
- Restoring appearance before resale or lease return.
Installation Guide
Preparation
Park on a level surface and locate the damaged or missing end cap on the Ford Transit 250.
Remove Old Cap
Remove any remaining pieces of the original end cap and clean the mounting area of debris.
Align New End Cap
Position the replacement end cap over the factory mounting location, aligning the mounting points.
Secure Fasteners
Reinstall the factory fasteners by hand to confirm proper alignment and thread engagement.
Final Check
Tighten the fasteners snugly and verify the end cap is seated firmly with no gaps or looseness.
FAQ
Warranty
This end cap is covered by a one (1) year limited warranty against defects in materials and workmanship. Damage caused by misuse, abuse, improper installation, modification, or normal wear and tear is not covered.